
One of the cool things about doing up your new place, is the opportunity to plan out how you would like your home to be. This applies to the look and feel, but I think also the functionality that you can get out of it. When we purchased our place, I wanted to also try and fix some of the prevailing problems I’ve had ever since I started renting my first room – namely how to minimize running wires around the place. I decided to seriously explore how to go about setting up a home network.
The first thing I did was to think about what I actually needed. I definitely wanted to wire up my desktop directly to my router to minimize latency. I also wanted to make sure I could access the internet anywhere around the house as it was a persistent problem at my previous place. To address these main points, and future proof the house, I decided to try and setup structured cabling at my new place.
When I was planning all these out, I tried to find some references or research others with similar experience in Singapore. Most resources online seem to cater more for large houses, or for locals, BTO units which come with structured cabling already more or less setup. I struggled to find points of references for my HDB resale flat. Here are a few things I learned from my experience which will hopefully help others exploring the same path.
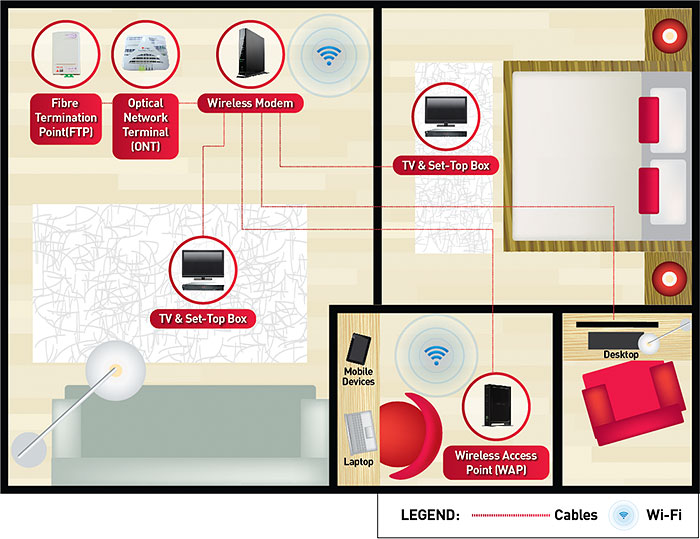
The hub
The first thing was deciding on where to place the “hub” or heart of the network. This will be the place where the main router would be setup in the home, and would be where most of the network points end up. A good setup would be something similar to an office network.
I decided on placing my hub near my TV console, keeping the main router exposed for WIFI coverage, but hiding most of the other devices (ONT, switches, power sockets etc) in the built in cabinet. Once this was decided, I had basically decided the “end” point of all my cables to be laid.
Cabling
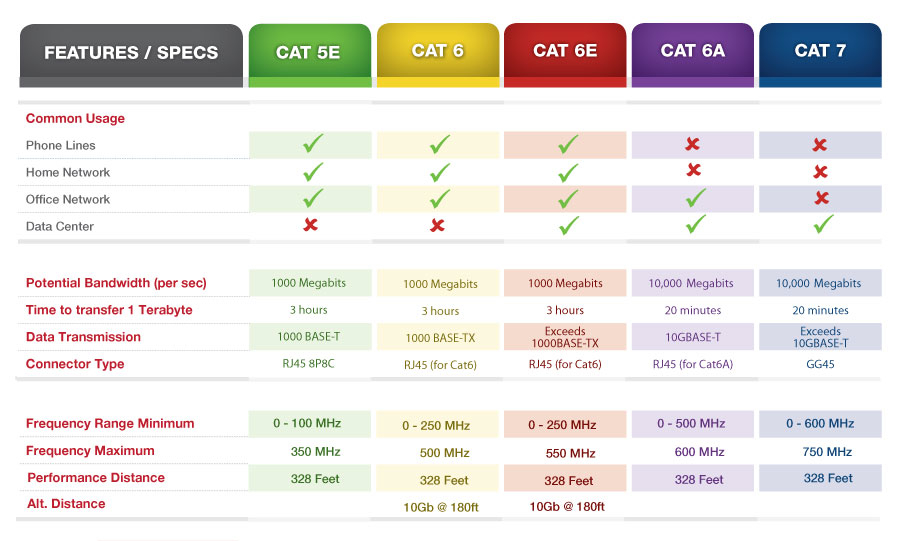
Next is the simple part which you can work with your contractors on: cabling. Most contractors at the bare minimum have Cat6 cables, and although there are even Cat7 cables now, it is not worth the price as the additional isolation for a Cat7 cable isn’t really relevant for home use.
Most contractors charge cables by the number of termination points, rather than by foot run, and as mentioned, the cool thing about doing up your house is you can choose how to conceal and run the cables. In my case, everything is largely nice and hidden, so I only see the RJ45 sockets on my wall.
Termination points
Choosing where and how many points to get depends largely on your needs. You have to look at your layout and determine where the points will be in each room depending on your needs. It is best to have as many points as you can afford, but in my case, I opted for just one point in each room.
There are two end points for each cable, and you will plan for the end points from each room, but the other end should be right at the hub. My contractor initially had RJ45 female points for each of the rooms, and gave me male points at the other end, which I was not too happy about.
While it is definitely “easier” to just plug all the male points into the router / switch, the fact remains that I have that moving cable running through the house concealed, and if that moving part were to spoil (unlikely I know but I didn’t want to take the chance) I could not re-run the wire unless I was to hack the concealed ceiling and replace it.
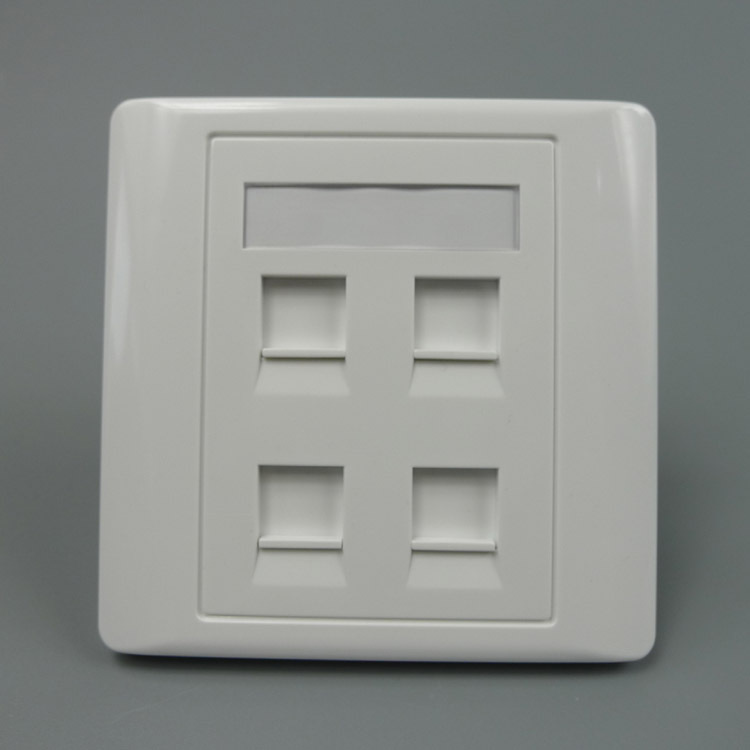 I made some noise and they eventually replaced the male points with a wall mounted RJ45 female plate which housed 4 points each. This was fixed to the wall, making the chance of each point failing due to cable movements much lower. I just needed to get a regular Cat6 patch cable to connect each of the points to my router, and I was set!
WIFI considerations
Another key thing to think about your setup is the kind of devices you will be using in your home. If you have more devices that will be connected by WIFI, and they are spread out in the house, then you will need to cater for them.
In a city like Singapore, it is unfortunate that your WIFI signal will get constant interference from other WIFI devices. Due to how saturated the WIFI signals are, it seems that there will always be “dead spots” in the house with a standard WIFI router. Of course, you could opt for a wireless mesh network solution like Eero, Orbi or if you can get a parallel import, Google Wifi, but that doesn’t help to reduce the traffic.
Instead, I would highly recommend you get an additional access point (unless you are staying in a studio sized unit). Every WIFI device will then connect to your network via the access point(s), preserving the bandwidth of communicating between your main router and the access point. I did this by running an additional data point to the ceiling where I wanted to place my other access point.
Router selection
The new routers from most service providers are pretty good, although they lack the flexibility and configuration options that some power users might need. Still, as long as you are just intending to have a decent connection and are not looking to setup a VPN, remote file server etc just stick with the router provided. I use Singtel and the new wireless AC router works just fine.
A key thing note is the number of ports you might need for your cables. Most routers come with up to 4 ports, and if one of them is used for your secondary Wireless Access Point (WAP), then you are left with only 3 which you could use to connect to the other rooms in your unit. If you also want to connect your TV / Game Console / NAS / HTPC via cables, then you would likely need to invest in a switch. This is the main reason you would want to plan out the kind of devices you would like to use.
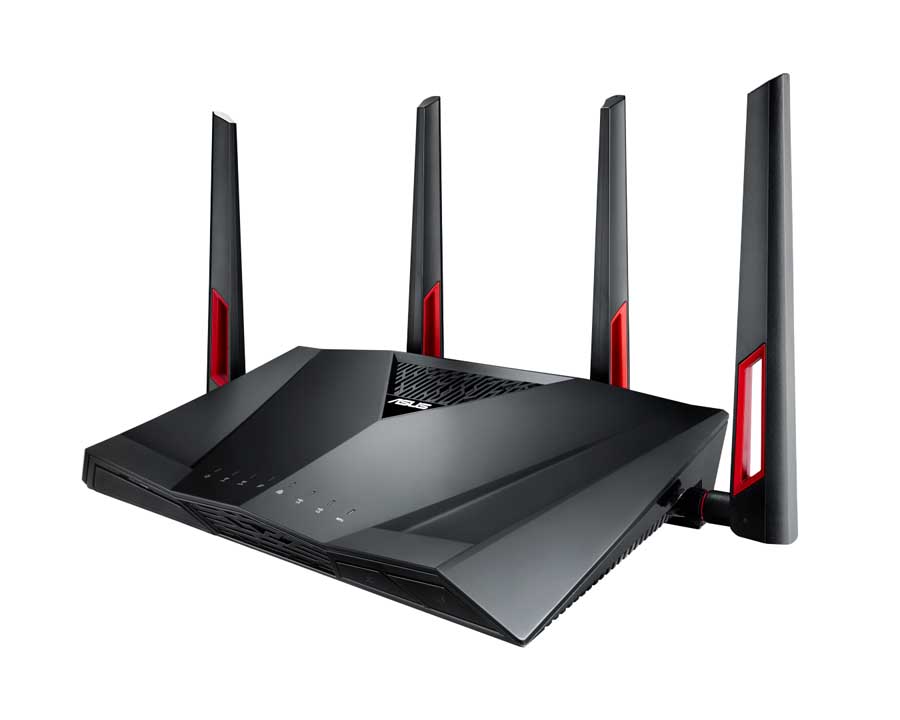 ASUS routers can be quite expensive, and there is one model that has up to 8 ports (RT-AC88U). Asus routers in general are not too difficult to maintain and there is a lot of support available, but I would say most users would not need to go there unless you have a specific need for your network.
You can also explore Ubiquiti products, which is very powerful, scalable and provides the most options, but it is pricey and typically meant for business / commercial use, so it may not be worth it for home use. That said, they do have a powerful WAP that is affordable and can save you the hassle of an additional power socket, because they make use of Power Over Ethernet (POE) which allows your data cable to also power the WAP. I personally went for the Unifi AP AC Lite which came with POE adapter which makes the WAP positioning much cleaner.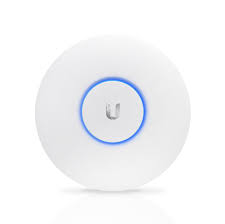
Summary
Overall, while I am not the most network savvy person, I am quite happy with how my network is now setup and can kiss goodbye to cables running across my house. Having most devices hooked up by cables ensures that I do not get as much signal interference, and gives you more options to expand your network usage. As we are moving towards the age of the Internet of Things, having a better connection at home would be very helpful as more and more smart devices can be effortlessly connected to your network.
If you ever want to make your home somewhat smarter, and you have the opportunity to do up your place, then consider the points that I listed above. Or, drop a comment below with your questions and I will see if I can help.